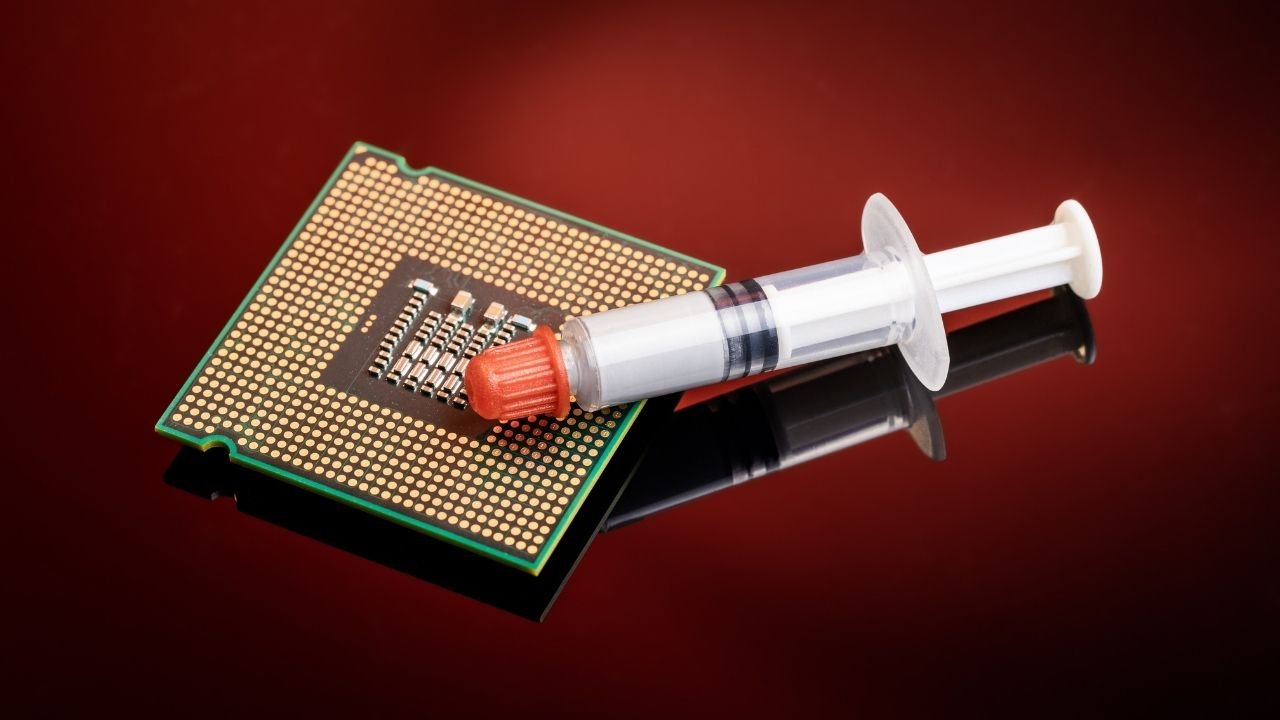
Also known as thermal paste, thermal grease, or thermal interface material (TIM), this dense compound facilitates heat exchange between the CPU and its heat sink. A single drop out of place can cause a system malfunction or even death, so it’s important to apply it correctly.
The best TIMs fill gaps effectively, conduct heat well, and remain stable. They should also be easy to apply and clean up.
What is thermal paste?
Modern electronic devices generate a lot of heat that must be dissipated to prevent overheating and damage. To do this, they use metal heat sinks with special thermal paste that helps them transfer that heat to the air surrounding them. The best thermal pastes facilitate that exchange by filling microscopic gaps and roughness between the heat sink and the processor.
However, not all thermal pastes are created equal, and even how you apply it matters a great deal. There’s a dizzying array of different applications methods available, with many of them depending on the kind of paste you have, and how thick it is. For example, a thin paste like Arctic’s new MX-5 can be spread easily using an applicator, while a thicker one might require more precise application with a card or similar tool. Regardless of how you apply it, you should aim for a dot that is roughly pea-sized. This will ensure that the paste is applied evenly and that all areas are covered.
Types of thermal pastes
In general, thermal paste is used to fill the air gaps between the CPU/GPU and the heatsink. It’s important to note that it’s a better conductor of heat than air, but not as good as metal. Therefore, it’s essential to properly prepare the contact surfaces with a non-oil-based cleaner and to apply a thick but thin layer of paste.
The best thermal pastes have a high wattage per kelvin (W/mK) rating, which means that they transfer heat quickly and efficiently. They’re also electrically insulating and non-corrosive.
This option from Noctua is a top choice and has a great price point. It comes with a 2 gram syringe and two applicators, so it’s perfect for newcomers to handling this type of compound. It has a very mild viscosity and excellent stability upon application, which makes it simple to work with and resists drips and runs. It’s also made of polysynthetic grease for enhanced performance. It’s a solid choice for system builders.
How to apply thermal paste
Using a high-quality paste that’s fresh and well-applied is the best way to ensure maximum performance from your CPU. It is recommended that you reapply thermal paste every 2 to 4 years or as needed, such as when installing an AIO cooler or after cleaning your CPU’s mounting area. A sudden increase in CPU temperature or GPU temps can also indicate the need for a new application of thermal paste.
To apply your thermal paste, first clean the surface of both the cooler and the CPU with a non-linting cloth and isopropyl alcohol. Then, squeeze a small amount of the paste from its tube into the center of your CPU. It’s important that you do not use a lot of paste, as overusing it will negatively impact cooling efficiency and may cause air bubbles between the chip and the heatsink.
After squeezing a dot of thermal paste into the center of your processor, use a syringe or similar applicator to add four smaller dots of paste (around 2mm in diameter) evenly spaced a couple millimeters in from each corner of the chip. This should allow the heatsink to make contact with all areas of your CPU without causing the metal in the paste to run and short-circuit nearby components.
How to clean thermal paste
Over time, the thermal paste can degrade, so it is important to clean and reapply regularly. Luckily, it is a relatively easy task that anyone can do themselves. Before starting, make sure that the CPU and heat sink are clean and dry. Then, using a cloth or coffee filter moistened with isopropyl alcohol (preferably 91% or higher), remove the hardened thermal paste from the CPU’s surface. It’s also a good idea to wipe the edges of the CPU to ensure that there is no remaining paste left.
Once the old thermal paste is removed, use a clean lint-free cloth or cotton swab dipped in isopropyl alcohol to wipe off any remaining residue on both the heat sink and the CPU. Repeat this process until the surface of the CPU is completely free of residue. After cleaning, allow the components to dry for an hour before reassembling your computer. By following these simple steps, you can ensure that your CPU runs at optimal temperatures.